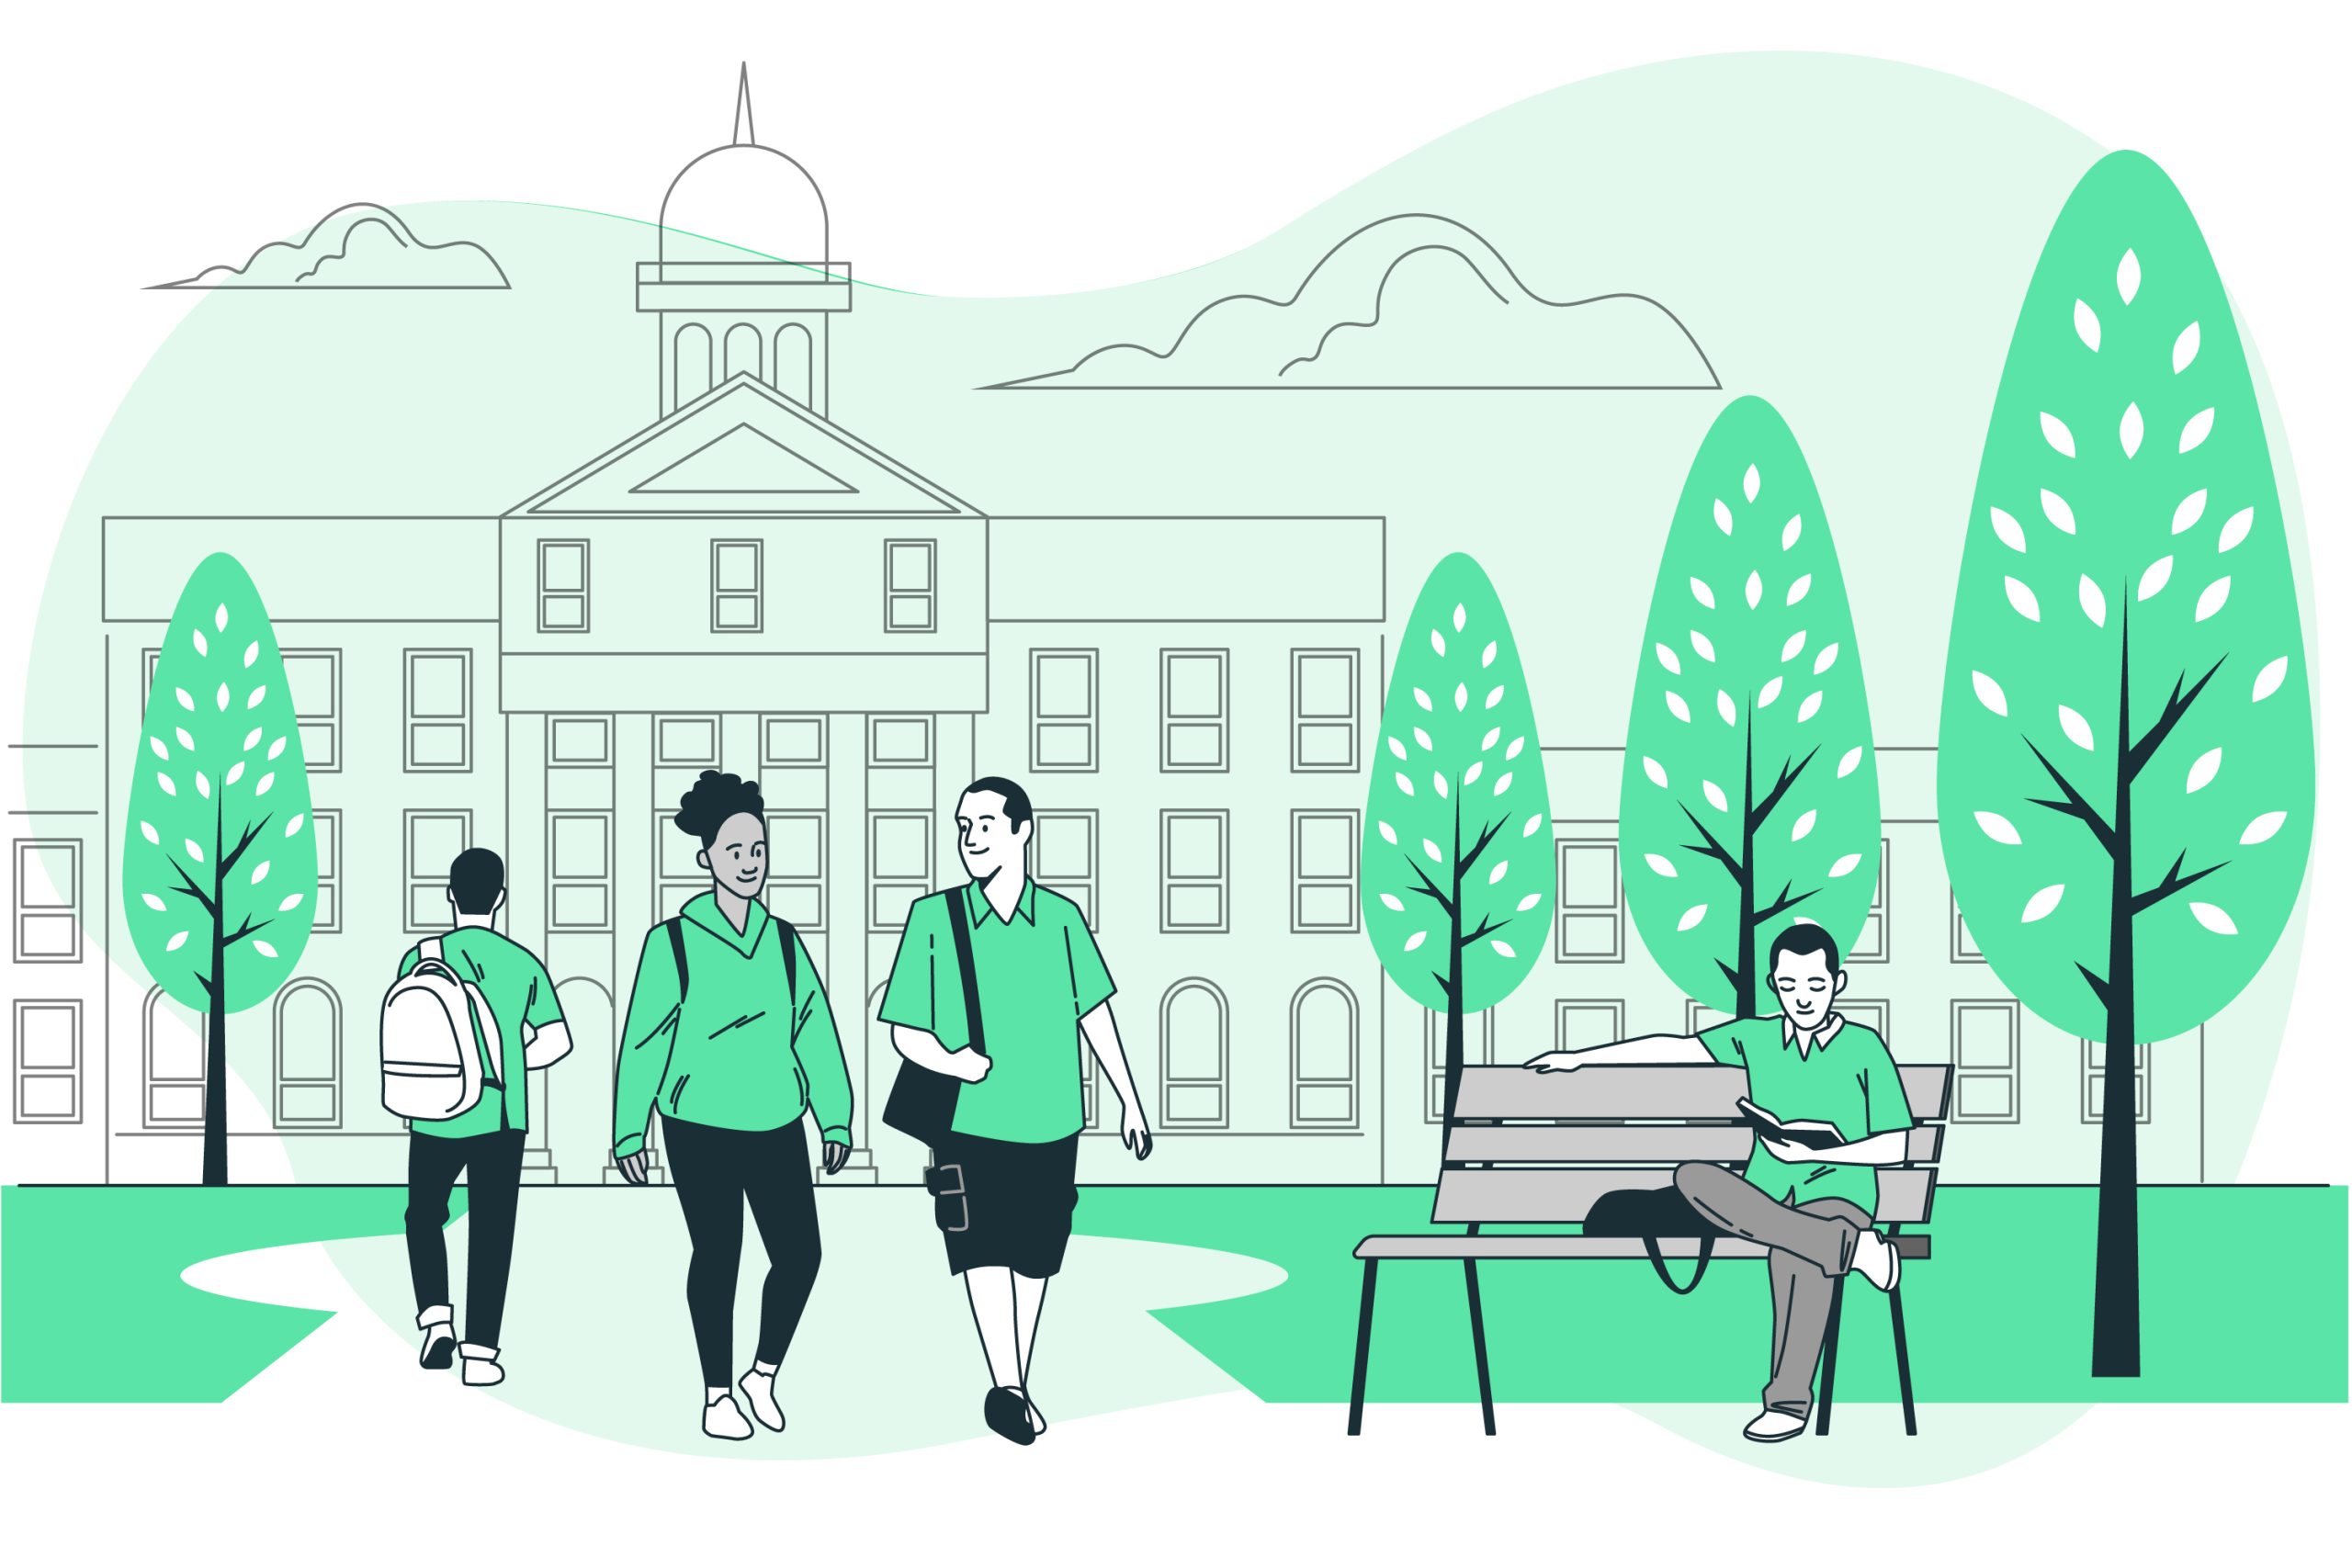
Many students transfer schools for various reasons— whether the school isn’t a great fit, they want a different program, they have changed their degree plans, or because of financial reasons. If you find yourself in a similar position, you might be wondering what the process of transferring is like and how to begin. As an international student with an F-1 visa, you are eligible to transfer.
Reason: First things first, it’s important to be sure about why you want to transfer, as this will not only ensure you are making the right decision, but will also help you remain steadfast and confident in your decision throughout the process, as well as honing your future decision-making skills.

Plan: Next you’ll need to figure out where you want to transfer. Perhaps the why might have something to do with where, and you already have a school in mind, or it might be completely unrelated. Thus begins the college search yet again. With your newfound knowledge, make lists of what you like and don’t like, want and don’t want, in a school. Visit the campuses if possible and as you see fit. If you’re unsatisfied with your current situation, it’s important to find a school that feels different so that you don’t end up in the same situation.
Discuss: Talk to your advisor. They will be able to guide you through the process, direct you to necessary resources in the registrar and financial aid office, and help you figure out which credits are transferable. Deadlines may differ depending on when you want to transfer, so make sure to know the timeline.
Apply: Once everything is in order, it’s time to apply. Stay on top of any deadlines and fees, and be transparent with your advisor if you are struggling to meet any requirements. After you’ve hit submit on your application, it’s time to wait.
Make the switch: Once you have received an acceptance letter, thus begins the official process of transferring. You must bring the following documents to your designated school officer (DSO): Written Confirmation of Acceptance to another Student and Exchange Visitor Program (SEVP)-certified school, contact information for the new school’s DSO, and the Student and Visitor Exchange Visitor Information System (SEIVP) school code of the transfer-in school. With all the proper documentation, your DSO can begin working with you and the DSO of your new school to decide on a transfer release date, or when your new DSO takes responsibility for your SEVIS record. Upon your transfer release date, the DSO at your previous school will no longer have access to your files. You will need to get a new Form I-120 signed by your new DSO as soon as possible. Along with contacting your new DSO, you must register for classes within 15 days of your program start date.
Start your new journey: Turn in any deposits, complete any housing forms, or anything else you might need to complete to secure your spot. Prepare yourself for new opportunities, friendships, and wonderful memories.
Begin your journey as a transfer student with determination that this new experience will be even better than the last, and congratulate yourself for going through the school search process again– you should be proud of yourself for making decisions that are right for you.
Category: Health & Safety Abroad, International Student Health Insurance, International Students in the USA, Student Insurance
Tags: Acceptance Letter, Advisor, Deposits, Designated School Officer, F-1 Visa, Financial Office, Form I-120, Housing Forms, Registrar, SEIVP, SEVP, Transfer Schools, Where, Why